Creating a User
REQUIREMENT: |
Before beginning this procedure, make sure you have opened the iControl—admin page ( click HERE). |
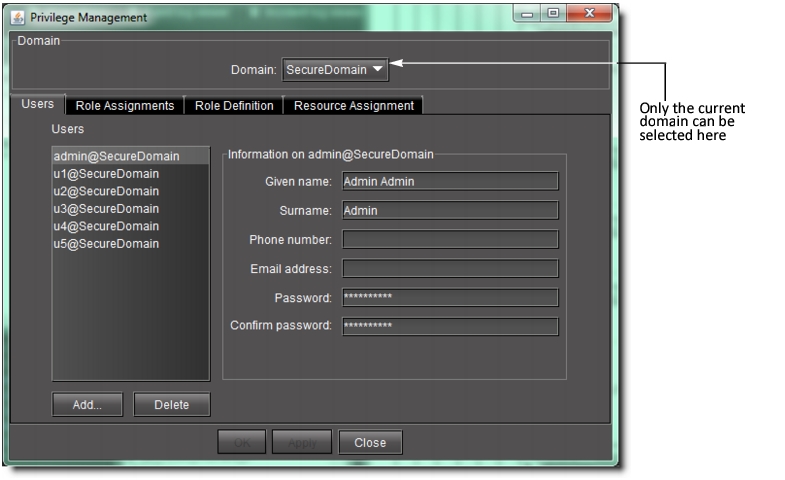
1. On the iControl—admin page, if necessary, click the Users tab to display the Users panel.
[ Graphic ]
2. Click Add.
3. In the window that appears, type a name for the new user.
User names in iControl are case-sensitive, and may contain letters, numbers, periods and/or underscore characters, but not spaces. The @ symbol and current domain (e.g. @myCompany.com) are appended to the name automatically.
4. Click OK.
System Response: The new name appears in the list on the left of the Users panel.
5. With the new user name highlighted, type a Given Name (first name), a Surname (family name), Phone Number (optional), and Email Address (optional) in the fields provided.
6. Type a password for this user, and the retype the password to confirm it.
NOTES: |
• If a user has permission to manage privileges, he or she can change the password at any time. |
• You may also elect to have a minimum length associated with passwords. To configure a minimum length, do the following: • Use WinSCP (available from the Useful downloads link in iControl) to navigate to /usr/local/iControl/www/java_generic.properties. • Change the setting of the PrivilegeManager.minimumPasswordLength property to the desired value. By default, there is no minimum length. |
7. Click Apply to save your changes and continue, or click OK to save the changes and close the Privilege Management window.