Working with Densité Communicators
Densité Communicators (
click HERE) allow you to monitor and control cards housed in Grass Valley Densité frames.
Densité frames are connected to an Application Server over a standard Ethernet network. In order to establish communications between the Densité frame and the Application Server, a Communicator service must be configured and activated for each frame. If the service is not configured, you will not be able to monitor or control the Densité frame, even if it is connected.
NOTE: Because of the one-to-one correspondence between Densité frames and Densité Communicators, the terms are used interchangeably. |
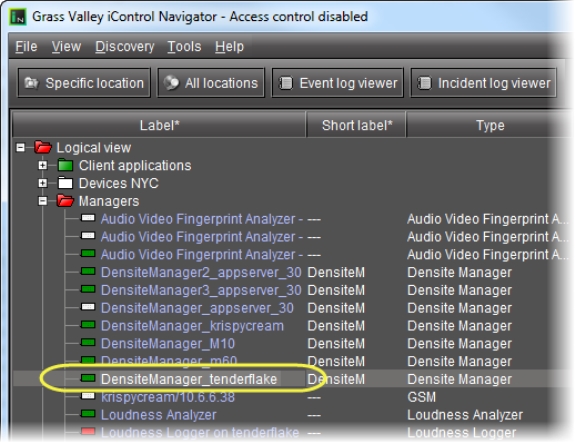
The Densité Manager is an iControl service that allows you to manage multiple Densité Communicators. If there are Densité frames on your network, you will automatically see the Densité Manager service displayed in the iC Navigator window.
For the Densité Manager to be able to begin controlling services, you must specify the IP address(es) of the Densité frame(s) that it will manage. For each frame specified in this way, the Densité Manager opens a Densité Communicator.
REQUIREMENT: |
Before beginning this procedure, make sure you have opened the iControl—Services management page ( click HERE). |
1. On the iControl—Services management page, verify that at least one Densité Manager is active (green).
[ Graphic ]
In a network with multiple Densité frames, it may be necessary to run more than one Densité Manager service, and to balance the load between them (Grass Valley recommends a maximum of 150 streams per Densité Manager).
To add more Densité Managers, scroll to the bottom of the iControl Services Monitoring and Configuration page.
Choose a number from the menu, and then click Apply.
3. Click Logical view. Make sure that the Densité Manager service is visible, and that its status is green.
4. Double-click the Densité Manager row.
[ Graphic ]
System Response: The Densité Manager control panel appears.
The Configuration tab contains a list of currently configured Densité Communicators. The first time that you access the Densité Manager, this list will be empty. You must manually add the IP address and name of each Densité frame that is to be controlled. The Status bar located at the bottom of the control panel displays Error, Warning and Information messages.
If you select a Densité Communicator (frame) from the list, you can take one of the following actions:
• Click Remove to delete the Communicator from the list. If the Communicator had been added to an iC Web page, the alarm for that element will turn red.
• Click Reset to stop and then restart the selected Communicator.
NOTE: Use Reset when, for example, cards known to be in the frame do not appear in the iC Navigator window. |
• Click Standby to interrupt the data flow to and from the Densité frame.
• Click Online to restore the data flow to and from the Densité frame.
5. Click Add to add a new Densité Communicator (frame) to the list.
System Response: The Target Information window appears.
6. Under Server Type, select standalone.
7. Type the Densité frame’s IP address and a descriptive name in the fields provided. These are used to define the alarm IDs in the GSM.
NOTE: If the name or IP address for an existing frame is modified at a later date, any iC Web pages referring to this frame may no longer work. |
You can safely ignore all other settings in the Configuration tab—this functionality has been superseded by other iControl modules.
8. Click OK.
System Response: The new Densité Communicator will be started and added to the list. iC Navigator will query that Densité frame, and any devices (cards) it discovers will be displayed.
9. Click the Info tab.
10. Type (or modify) the values in the Label, Short Label, Source ID and Comments fields, as required.
NOTE: These values are typically visible in the main iC Navigator window. |
11. In addition, you can do the following:
• Click Advanced to view the Long ID.
• Click Details to obtain manufacturing process, service, and panel version numbers.
• Click Remote system administration to view, add or remove the IP address of an Application Server running a lookup service on a remote subnet.