Connecting to a New iControl Application Server
Before you can begin operations, you must configure the Application Server and make it available on your local network. The iControl Application Server is shipped with its Eth0 port configured to a standard setting. As you perform the configuration procedures in this manual, you will reconfigure the port to integrate the Application Server into your network.
IMPORTANT: Ethernet Port Labels on the PowerEdge R200, R210, R310, and R320 |
Please read the section regarding Ethernet port labels (click HERE). |
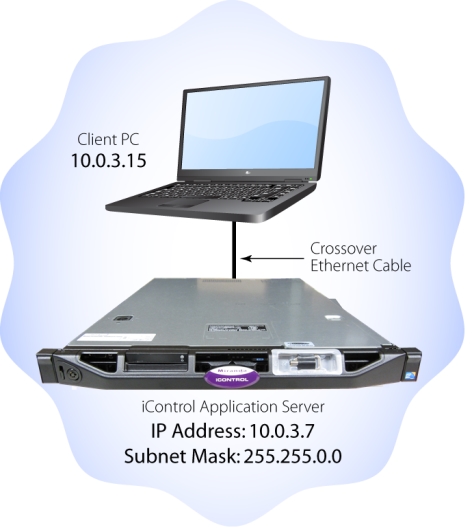
1. Using a crossover Ethernet cable, connect the client PC to the Eth0 port on the new Application Server.
[ Graphic ]
Connection between client PC and Application Server
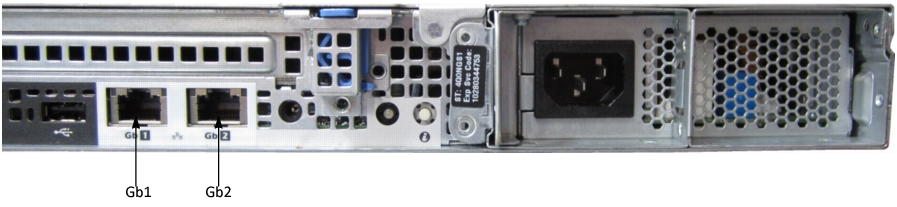
Rear view of R310 Application Server, showing logical ports eth0 and eth1 (physical ports Gb1 and Gb2, respectively)
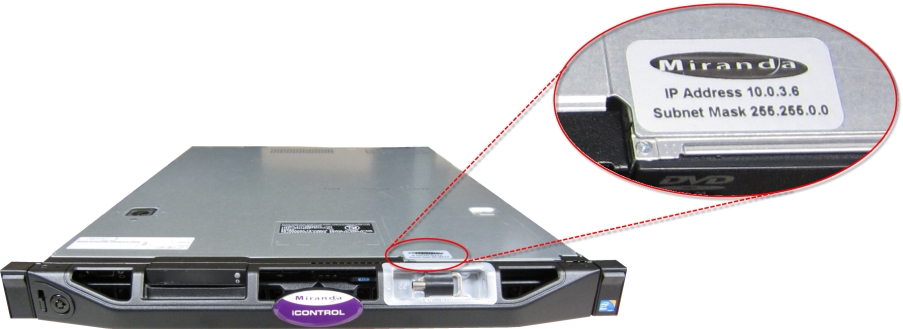
NOTE: The default IP address and subnet mask settings for the Application Server when shipped from the factory are shown on a sticker on the top cover of the chassis above the front-panel power switch. The factory default is 10.0.3.6. |
[ Graphic ]
2. Open a browser window on the client PC.
3. In the address field, type 10.0.3.6 (this is the default IP address of the iControl Application Server).
System Response: The iControl—Startup page appears.
NOTE: If your Web browser cannot find the Application Server, make sure the PC’s network settings are correct (click HERE). |