Exporting Selected Device Profiles to a Profile File
REQUIREMENT: |
Before beginning this procedure, make sure you have opened Device Profile Manager ( click HERE). |
1. In Device Profile Manager, click the Export tab.
2. In the Apply column, select the devices whose profiles you would like to export to a file.
3. If you would like to export to a file on your local PC, perform the following steps:
a) Select Local.
[ Graphic ]
b) Click ....
System Response: The Open window appears.
[ Graphic ]
c) In the
Look In menu, browse for the directory you would like to export to (
click HERE).
d) In the File Name text field, type the name of the new profile file you wish to create.
e) Click Select.
System Response: The Open window closes.
4. If you would like to export to a file on an Application Server, perform the following steps:
a) In Device Profile Manager, click ....
NOTE: Make sure the Local check box is cleared. |
[ Graphic ]
System Response: The Profile File Browser appears.
[ Graphic ]
b) Select the desired Application Server.
c) Click Go.
System Response: The Profile File Browser refreshes with the available profile files on the selected Application Server.
d) Do one of the following:
• In the File text field, type the name of a new profile file you wish to create.
OR,
• From the list of available profile files, select a file you wish to overwrite.
e) Click OK.
System Response: The Profile File Browser closes.
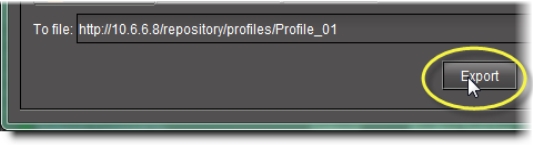
5. In Device Profile Manager, click Export.
[ Graphic ]
System Response: A progress window displays the export progress.
NOTE: To cancel the operation before this process is complete, click Cancel. |
System Response: When the process is complete, the Export confirmation window appears.
6. Click OK in the Export confirmation window.
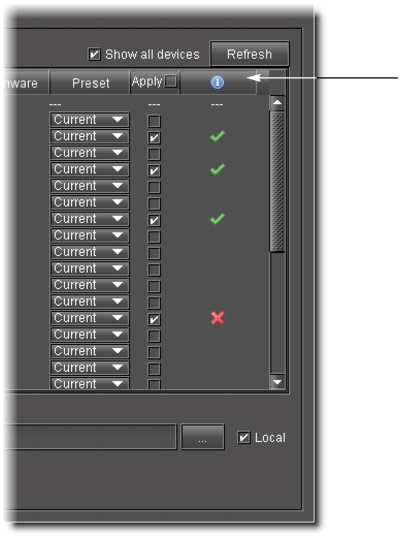
System Response: The Export confirmation window closes. In Device Profile Manager, in the Result column (the column with the information icon in the header), either a check mark or an ‘X’ is displayed for selected devices.
[ Graphic ]
NOTE: A check mark indicates that the last operation for this device succeeded. An ‘X’ indicates that the last operation for this device failed. |