Configuring more than one GV I/O Host
You must install GV I/O licenses before starting the configuration.
When working with multiple GV I/O units, each GV I/O unit can be configured by accessing the web configuration utility for each GV I/O unit and logging in to each GV I/O unit one at a time.
Alternatively, there is another method to configure multiple GV I/O units on a LAN via a single log-in to the web configuration utility.
- Choose a GV I/O unit whose web configuration utility will be used to access the configuration of the other GV I/O units.
-
On the designated GV I/O unit, access the
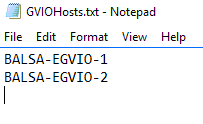
C:\profile\config\GVIOHosts.txt file for editing.
By default, there is a single GV I/O hostname in the file, referencing the local GV I/O hostname. Leave the local GV I/O hostname as the first entry in the file.
- Add additional GV I/O hostnames to the GVIOHosts.txt file, with one hostname per line.
- Save the GVIOHosts.txt file.
- Reboot the GV I/O unit.
-
Log in to the web configuration utility after the GV I/O unit has been rebooted.
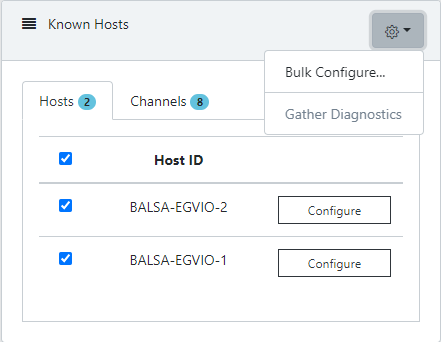
The additional GV I/O units appear on the Hosts tab.
- Select multiple GV I/O units or select the top check-box to select all GV I/O in the list.
-
Click the gear icon on the top-right of the page.
These options appear.
-
Click Bulk Configure to configure all selected GV I/O units at a
time.
Note: The "Gather Diagnostics" option is not supported yet in this release.
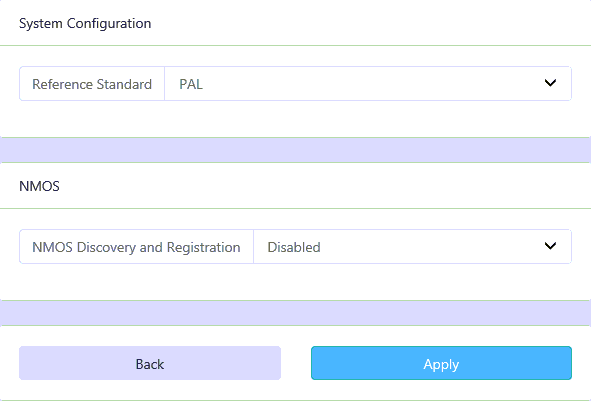
- Select the Reference Standard and NMOS configuration for all the GV I/O units.
- Click Apply to save your current settings, or click Back to return to the last saved settings.