Creating Export Transcode Profiles with EDIUS
Transcode profiles are created by an administrator
or advanced user of EDIUS and must be saved to a shared location accessible to users of
the XRE Transcoding Profile Tool.
- In the EDIUS application, open a new project and place a clip on the timeline.
-
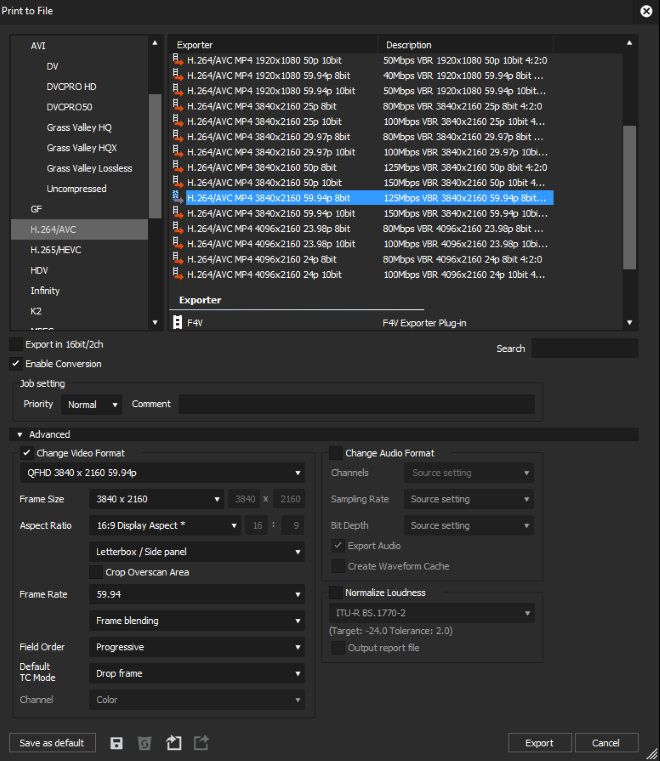
Select File | Export | Print to File.
The Print to File window displays.
- Select a format on the left column and select the exporter preset on the right column of the window.
- Select the Enable Conversion check-box.
- Click the drop-down arrow to expand Advanced settings, and set appropriate configuration for the transcode profile.
-
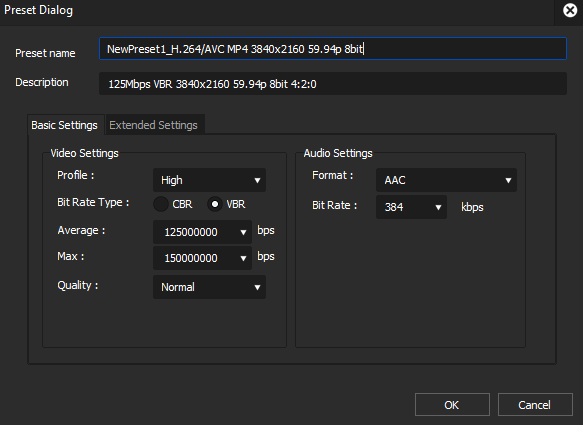
Save the setting by clicking the Save Preset button.

The Preset Dialog appears.
-
Enter the Preset name and click OK.
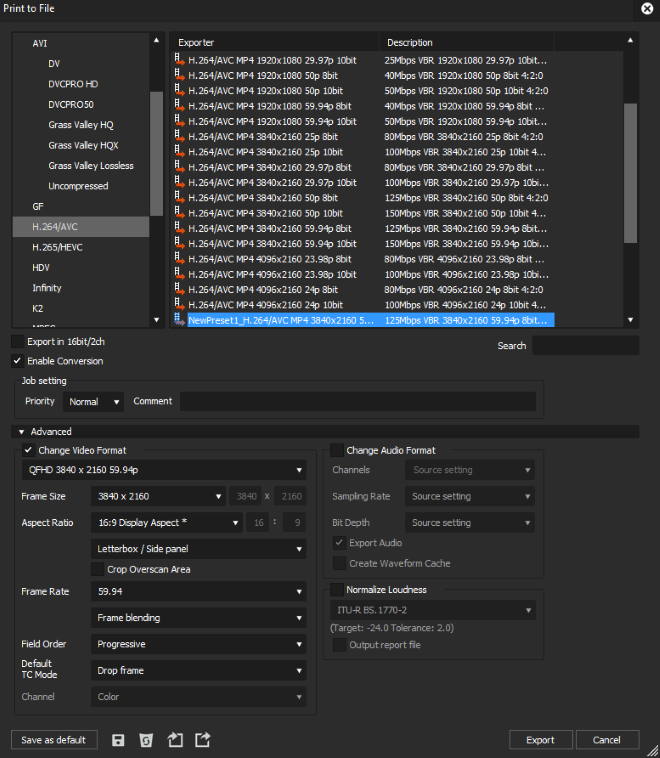
The newly configured preset appears in the Exporter list.
-
Select the new preset and click the Export Preset
button.

The preset or transcode profile is exported as a (*.tpd) file.
Note: The transcode profile (*.tpd file) for Apple ProRes video compression format is not supported by the EDIUS application, therefore it must be created with the XRE Transcoder application or alternatively procured from Grass Valley.
Next, use the XRE Transcoding Profile Tool to add the new transcode profile of GVRE Transcoder into the GV STRATUS system.


