Creating a GSM SNMP Agent for all Alarms
WARNING: Depending on the scale of your GSM-visible alarm footprint, performing this procedure may have a detrimental impact upon iControl, a destination SNMP manager, or general network performance. Care should be taken when configuring GSM SNMP agents for all alarms. |
REQUIREMENTS: |
Make sure you meet the following conditions before beginning this procedure: |
• You have separately ordered and installed the SNMP Agent plug‑in option. To order this, contact Grass Valley Technical Support ( click HERE). |
• You have opened the GSM Alarm Browser ( click HERE). |
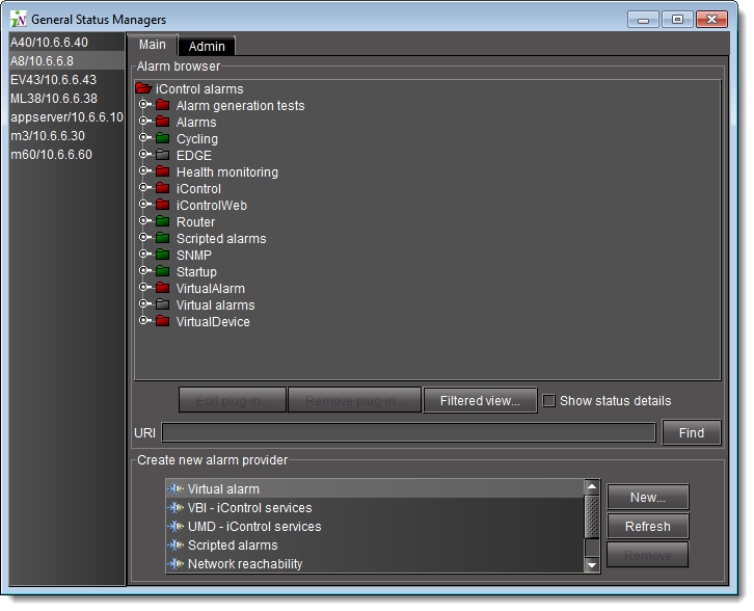
1. In the GSM Alarm Browser, select a GSM from the list on the left pane.
[ Graphic ]
NOTE: The graphics depicted above and below show the GSM Alarm Browser if it is opened from the View menu of iC Navigator. If, however, you have opened the GSM Alarm Browser by double-clicking a GSM in iC Navigator’s Logical View, you will not see a left pane with a list of GSMs. |
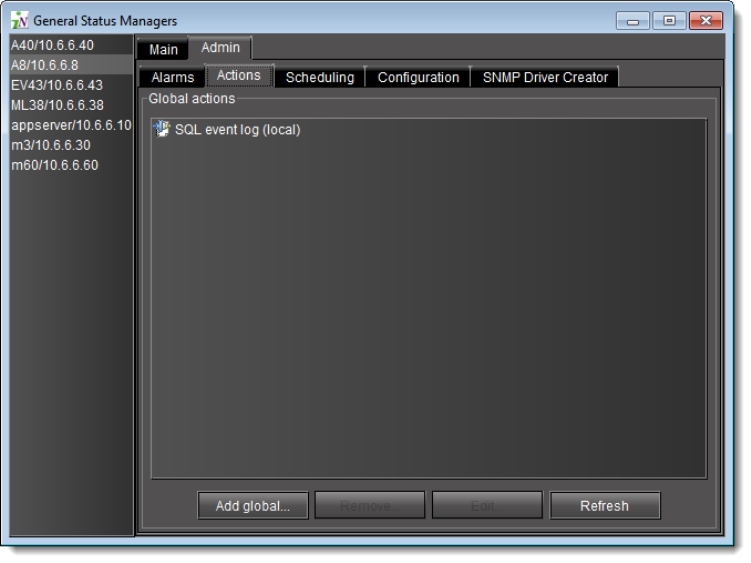
2. On the right pane, click on the Admin tab, and then click on the Actions sub-tab.
[ Graphic ]
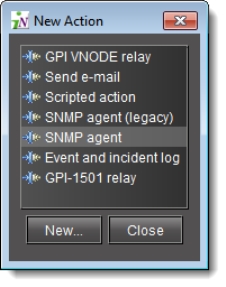
3. Click Add global.
System Response: The New Action window appears.
4. Select SNMP agent in the list of new actions, and then click New.
[ Graphic ]
System Response: The SNMP Agent Configuration window appears.
[ Graphic ]
5. Enter values for the following parameters depending upon your needs:
[ Table ]
To do this... | ...do this... |
Configure an SNMP agent. | 1. In the SNMP Agent Configuration window, type a name for this plugin. 2. In the Community box, type an SNMP community string. Only client requests with identical text are processed. By default, the value is set to public. 3. In the Port list, select the Application Server port number to which the agent listens for client requests. 4. In the Trap configuration area, click Add. 5. In the trap target that appears, in the Host column, type an IP address for the trap target. 6. In the same row (same trap target), in the Port column, type the trap target’s port number to which the trap will be sent. 7. [OPTIONAL] In the same row, in the Description column, type a description of the trap target. 8. Specify the trap version. 9. Assign a trap number (used to identify this trap from others). 10. Click OK. |
Remove a trap target from an SNMP agent. | 1. In the SNMP Agent Configuration window, in the Trap targets list, select the target you would like to remove. 2. Click Remove. 3. Click OK. |
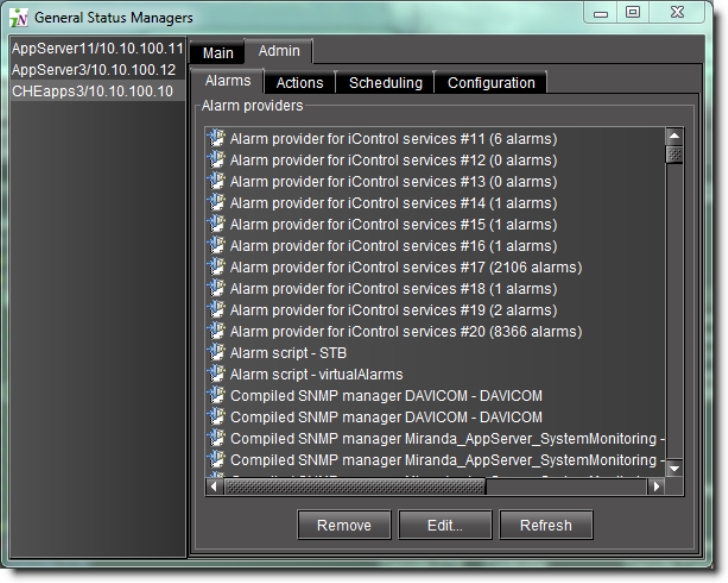
System Response: An icon labeled SNMP Agent appears in the Global actions list.
[ Graphic ]
NOTE: The Global actions list may take several seconds to update. Alternatively, you may click Refresh to manually update the list. |
All alarms located in the iControl folder of the GSM Alarm Browser of the currently selected GSM are now available to be polled or queried by a third party SNMP Manager.
[ Graphic ]
NOTE: The SNMP OIDs specific to Grass Valley devices and to the iControl GSM agent and traps are contained in MIB files (GSM‑MIB.mib and the MIRANDA‑MIB.mib) available from Grass Valley Technical Support (click HERE). |