Importing iC Web Images into a Project
REQUIREMENT: |
Before beginning this procedure, make sure you have opened iControl ( click HERE). |
1. On the iControl—Startup page, click Useful downloads.
System Response: The Useful Downloads page appears.
2. Click iControl Web images.
System Response: A File Download confirmation window appears.
3. Click Save.
System Response: A Save As window appears.
4. Browse and select an appropriate location to which you would like to save the ZIP file.
5. Click Save.
System Response: The file is saved to the designated location on your local computer.
6. Decompress the ZIP file.
IMPORTANT: The ZIP file can contain many files. Make sure you decompress the *.ZIP file into the desired folder. |
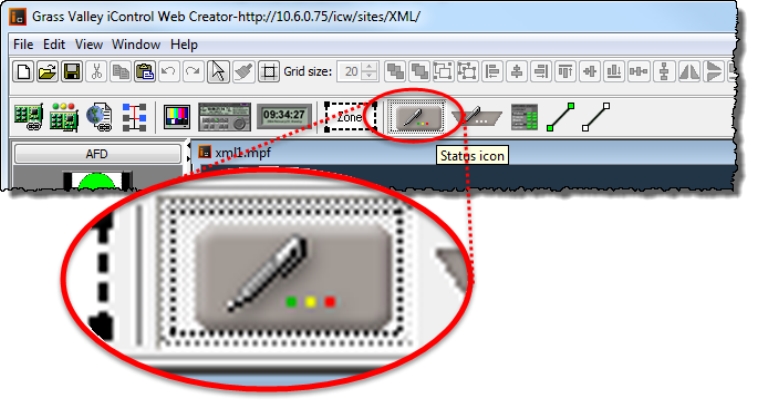
10. In iC Creator, click Status on the toolbar.
[ Graphic ]
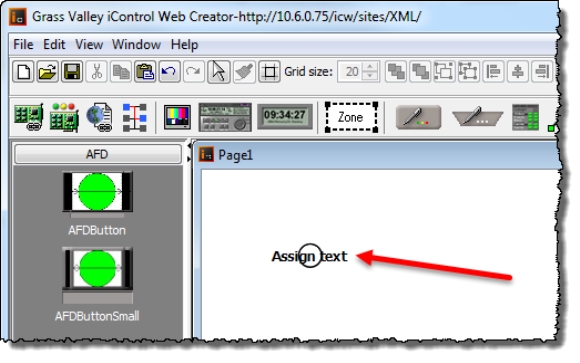
11. Click anywhere in the new page to add the icon to the page.
System Response: The icon appears on the page.
[ Graphic ]
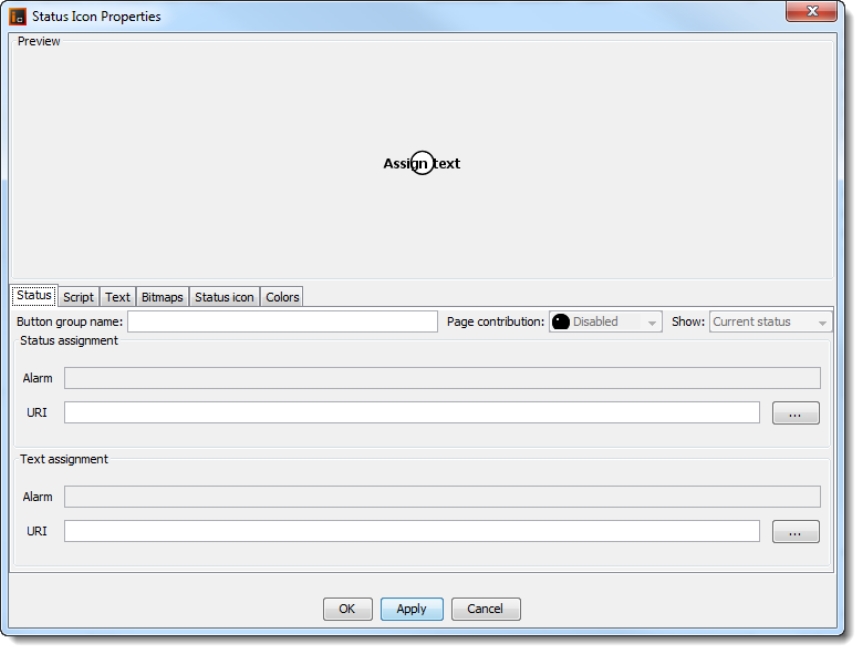
12. Double-click the icon.
System Response: The Status Icon Properties window appears.
[ Graphic ]
13. Select the Bitmaps tab.
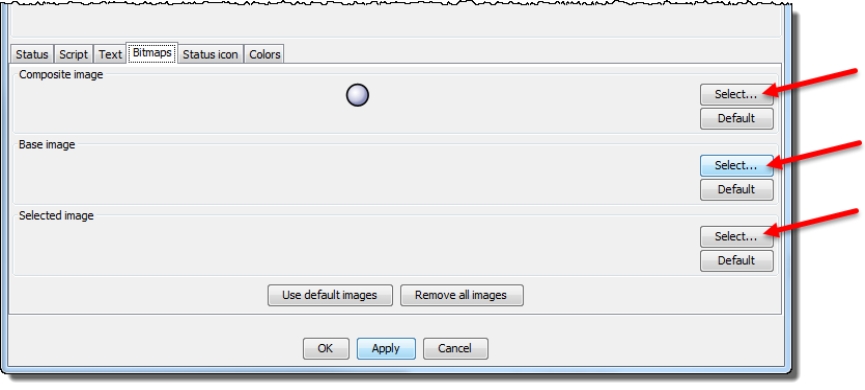
14. Click any one of the Select buttons.
[ Graphic ]
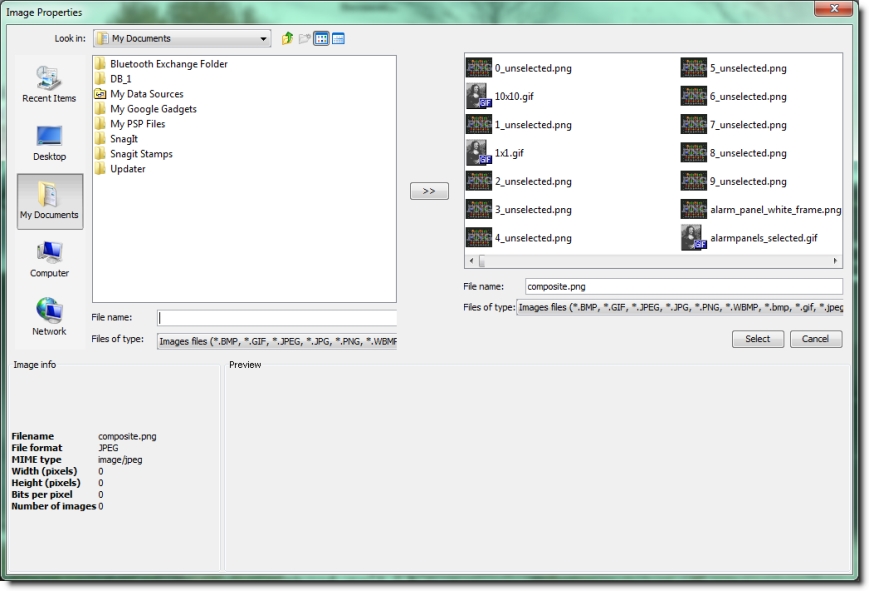
System Response: The Image Properties window appears.
[ Graphic ]
15. In the top-left box, browse to the location of the
images/link folder you decompressed in
step 6 and double-click the folder to display its contents.
16. In the images folder, select the image files you would like to import by performing one of the following steps, as required:
a) If you would like to import only one image file, click on the image file.
b) If you would like to import several image files, press (and hold) the Ctrl key while clicking once on each of the image files you would like to import.
c) If you would like to import all image files in the folder, click on any one image file, and then type Ctrl+A.
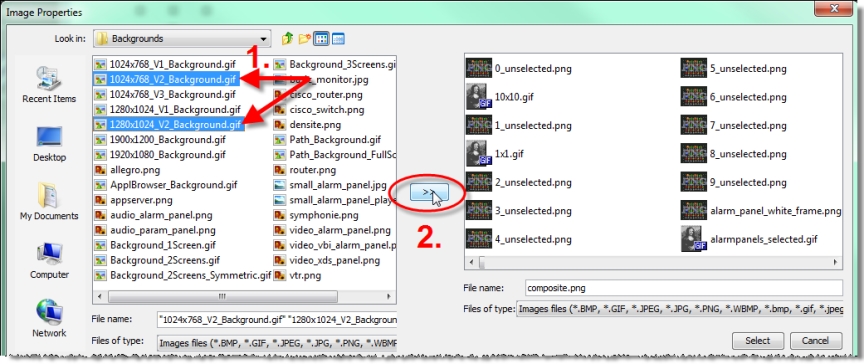
17. Click the double arrow button (near the middle of the window).
[ Graphic ]
System Response: All the imported images are now part of the project and can be used at any time as needed.
NOTE: Image files are saved inside the current project only and once imported can no longer be deleted. |
The page can be now closed without saving.