Mounting a Remote Shared Drive in your Application Server
Loudness logs can grow quickly. Grass Valley recommends mounting an external drive to the designated loudness folder in your Application Server in order to avoid running out of hard drive space as well as causing performance issues.
IMPORTANT: Make sure you have sufficient storage space for loudness data |
Ensure you have enough storage space available for loudness data at the specified location. If, when logging loudness data, the logger runs out of space, it will stop logging (guidelines on estimating storage space requirements). |
IMPORTANT: The external drive you would like to mount as a remote shared drive must be a NAS (network attached storage) device. Grass Valley only officially supports the use of a NAS in the context of this procedure. To verify your external drive is a NAS, see your network administrator. |
NOTE: When mounting a drive to an Application Server directory, you may only change the configured IP address of the external drive and the name and path of the Application Server shared directory if the shared directory is already unmounted. |
REQUIREMENTS: |
Make sure you meet the following conditions before beginning this procedure: |
• The external drive you would like to mount to the Application Server is a NAS (network-attached storage) device and not a DAS (direct-attached storage) device. To verify this drive is a NAS, see your local network administrator. |
• The external NAS drive must support the Samba network file sharing protocol. To verify this drive supports Samba, see your local network administrator. |
• On the external drive, the directory you would like to mount is already a shared directory. |
• You have opened the iControl—admin page ( click HERE). |
• You have started both the Loudness Logger and Loudness Analyzer services in iControl ( click HERE). |
• [RECOMMENDED]: You are performing this procedure as a task within the context of an approved workflow ( click HERE). |
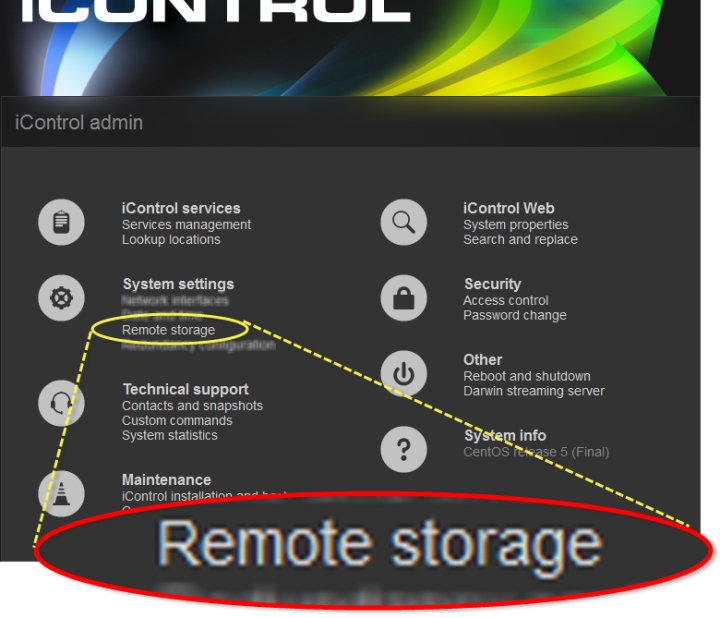
1. On the iControl—admin page, under System settings, click Remote storage.
[ Graphic ]
System Response: The iControl—Remote Storage page appears.
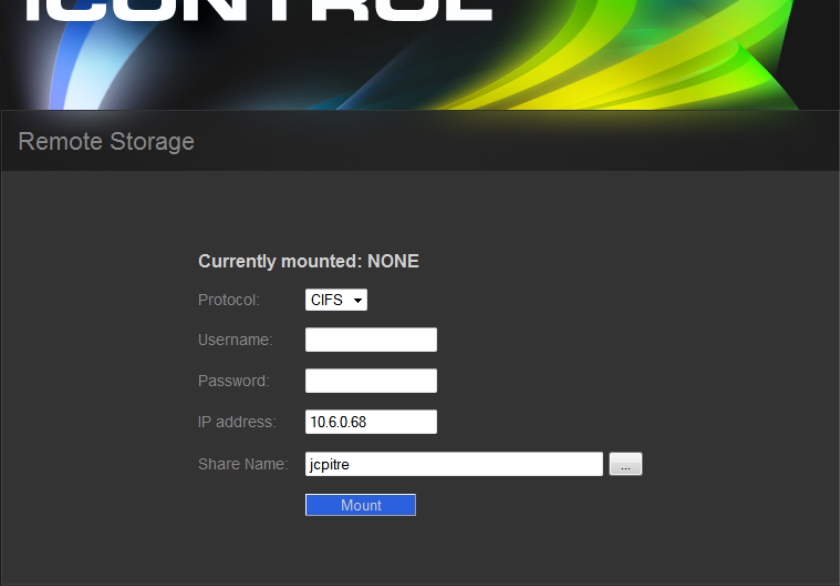
2. Select a file system protocol.
IMPORTANT: Only the Dell PowerEdge R200, R210, R310, and R320 Application Servers support the CIFS (common Internet file system) protocol. |
System Response: If you choose CIFS as a protocol, you are prompted for user name and password credentials. If your Remote Storage folder is protected, enter the appropriate credential (user name, password) information.
[ Graphic ]
iControl—Remote Storage window (CIFS protocol selected)
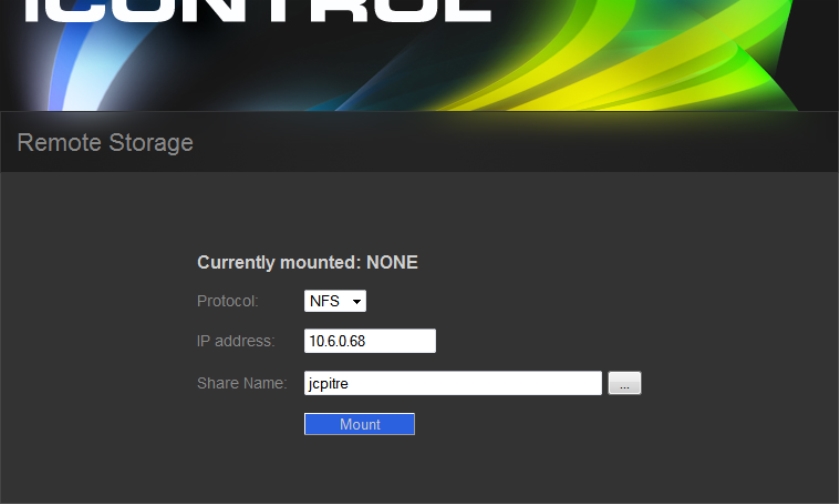
iControl—Remote Storage window (NFS protocol selected)
3. If you selected CIFS as a protocol, if required, enter a valid user name and password.
NOTE: If the remote folder requires credentials and you did not enter any, the mounting process will fail, giving the following message: |
4. Type the IP address of the external drive.
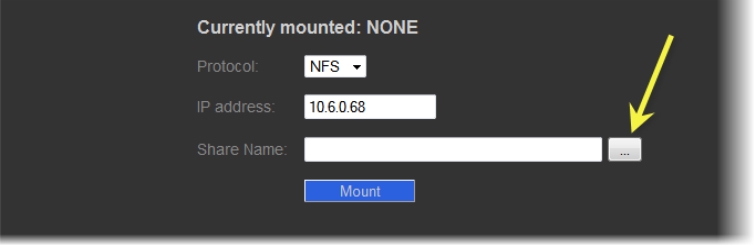
5. Next to Share Name, click the Browse button ( ).
[ Graphic ]
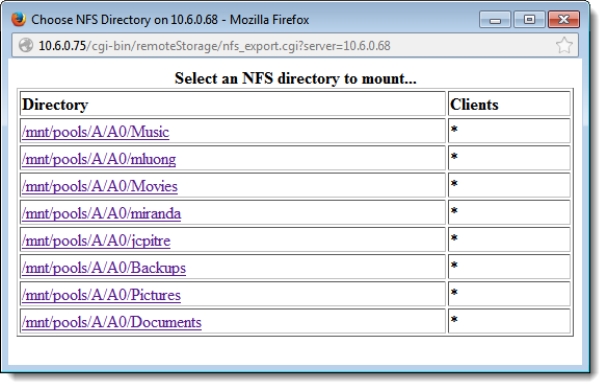
System Response: A browser window appears displaying a list of the external drive’s shared directories.
[ Graphic ]
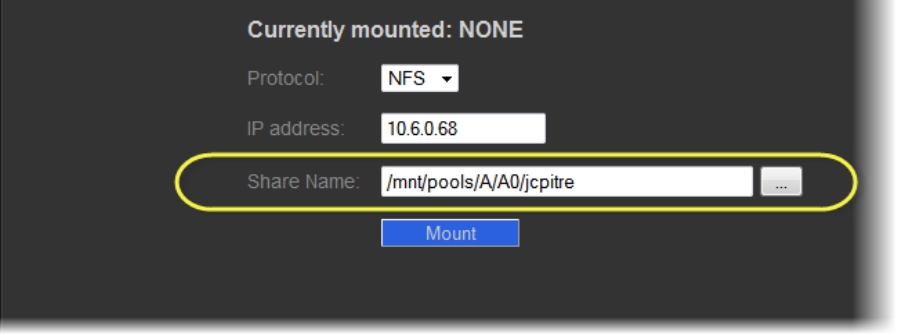
6. Click the shared directory you would like to mount.
System Response: The directory name appears next to Share Name in the iControl—Remote Storage page.
[ Graphic ]
7. Click Mount.
System Response: A progress message appears.
8. Click OK.
System Response: The mounted directory on the external drive appears on the iControl—Remote Storage page.