EDIUS 7 Online Help
User GuideReference Manual
Hardware Setup Guide
Installation Manual
Convert the edited clip to a format to be exported to an HDV device (MPEG-TS format), and export the converted file to the HDV device.
 Note
NoteBefore exporting, make sure to save your project.

The [Print to File] dialog box appears.
The [HDV] dialog box appears.
Checking [Segment Encode] exports clips with raw sources without re-encoding. This increases the output speed. For [Quality/Speed], select the quality of the part to be encoded from the list. Higher quality takes longer time for encoding.
A file is generated and registered in the bin.
Set the HDV device to video mode (PLAY/EDIT, etc.).

If your HDV device supports the HDV mode, set the device to the HDV mode. For more information on settings, see the instruction manual for your HDV device.
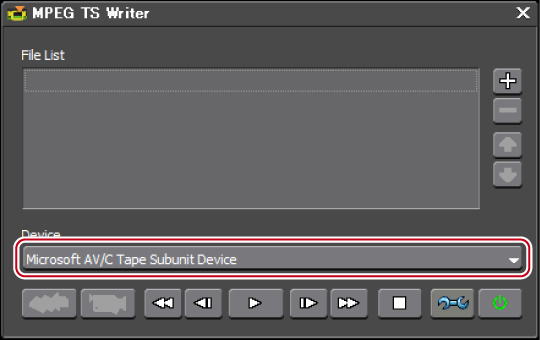
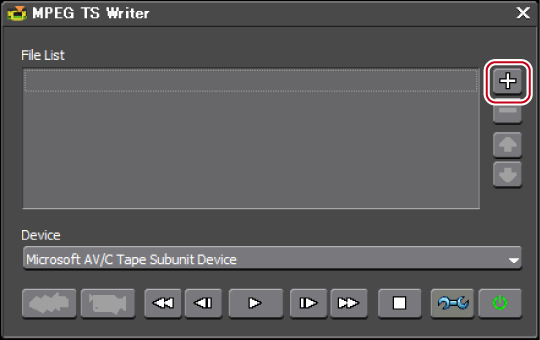
The [MPEG TS Writer] dialog box appears.
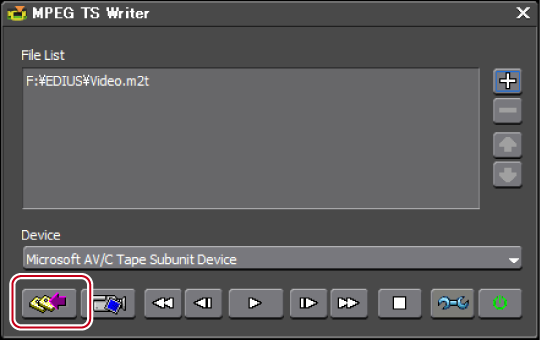
Printing starts.
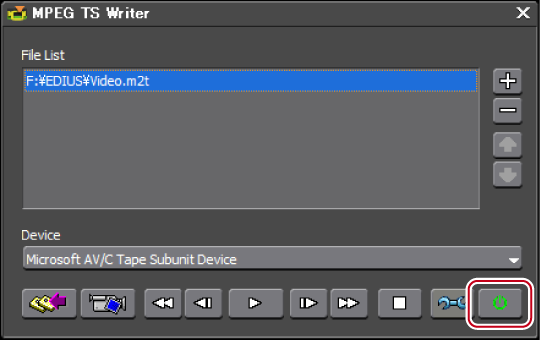
Close the [MPEG TS Writer] dialog box.
