This feature utilizes the conventional mask function to automatically track specific parts of the subject in motion and apply [VideoFilters] effects such as [Mosaic].
Multiple paths can be tracked at the same time.
To apply [Mosaic] to the face of a person approaching
1) In the folder view of the [Effect] palette, click the [Effect] tree.
2) Click [VideoFilters].
A list of [VideoFilters] effects is displayed in the effect view.
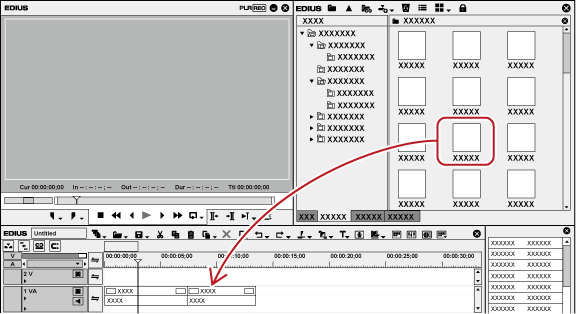
3) Drag and drop [Mask] to the clip (video part) on the timeline.
Clips with the [Mask] effect applied (video part) are displayed with an orange line.
4) Display the [Information] palette, and double-click [Mask].
The [Mask] dialog box appears.
5) Move the timeline cursor to the top frame.
6) Click the draw button of ellipse and encircle the person's face with an ellipse.
7)
Check [Filter] for [Inside], click
 , and select [Mosaic].
Click
 to set the details of [Mosaic].
You can view the result of the applied video filter in the preview window.
8) Click [Track Forward] in [Tracking].
Tracking in the forward direction starts and a key frame will be set frame by frame. A progress bar is displayed to indicate the progress of the analysis.
The anchor path will be displayed in the preview of the [Mask] dialog box.
Tracking will end automatically at the last frame of the clip.
9) Play back the timeline to view the video.
10) Click [OK].
The [Mask] dialog box is closed.

Set key frames can be adjusted frame by frame.
The time scale display unit of the [Mask] dialog box can be adjusted in the time scale settings or by the timeline controller.
There are two types of interpolation methods, [Hold] and [Linear].
|
(1) |
[Tracking] |
Select a tracking method and start tracking. Multiple paths can be tracked at the same time. |
|
(2) |
[Track Reverse] |
Tracks in the reverse direction from the timeline cursor position and sets key frames. Tracking will end automatically at the top frame of the clip. [Ctrl] + [,] |
|
(3) |
[Track Previous Frame] |
Tracks one frame in the reverse direction from the timeline cursor position and sets key frame. [,] |
|
(4) |
[Tracking Option] |
[Position] Tracks the position of the object. The default value is ON. [Scale] Tracks the size of the object. The default value is ON. [Rotate] Tracks the rotation of the object. The default value is ON. |
|
(5) |
[Track Next Frame] |
Tracks one frame in the forward direction from the timeline cursor position and sets key frame. [.] |
|
(6) |
[Track Forward] |
Tracks in the forward direction from the timeline cursor position and sets key frames. Tracking will end automatically at the last frame of the clip. [Ctrl] + [.] |
You can select and track multiple paths at the same time.
1) Perform steps 1) to 7) in Tracking Subject in Motion and Applying Video Filter .
Draw multiple paths in advance.
2) While pressing [Shift] on the keyboard, select multiple paths.
3) Click [Tracking] on the tool bar, and click a tracking method.
Tracking for multiple paths starts at one time and finishes automatically at the last frame.
4) Play back the timeline to view the video.
Tracking may be disrupted in the middle when an obstacle blocks the subject being tracked or when the motion is too fast.
This section explains how to set the key frames manually on the frames from the one where automatic tracking has been disrupted to the one where automatic tracking can be resumed.
You can also track in the reverse direction using [Track Reverse].
1) Perform steps 1) to 8) in Tracking Subject in Motion and Applying Video Filter .
Tracking has been disrupted in the middle. Automatic tracking cannot be continued. Set key frames manually up to the frame where automatic tracking can be resumed.
2) Set key frames manually.
To set a key frame frame by frame, click [Track Next Frame]. Adjust the path position and size as necessary.
To set a key frame at a desired position, move the timeline cursor to the position to set the key frame and then adjust the path position and size. A key frame is added automatically when you edit the path. Repeat this step as necessary.
To delete key frames collectively, drag the mouse upward to select the key frames and press [Delete] on the keyboard.
3) Move the timeline cursor to the position to start automatic tracking, and click [Track Forward] again.
Automatic tracking resumes.
4) Play back the timeline to view the video.
5) Click [OK].
The [Mask] dialog box is closed.
