Convert the edited clip to a format to be exported to an HDV device (MPEG-TS format), and export the converted file to the HDV device.
|
|
|---|
|
1) Click [HDV] in the [Print to File] dialog box category tree.
2) Click [HDV], and click [Export].
The [HDV] dialog box appears.
|
[Segment Encode] |
Check this item to export a clip of a raw source without re-encoding. This increases the output speed. If the frame rate of the export format is 23.98p, segment encode is not available. [Quality/Speed] Select the quality of the part to be re-encoded from the list. The higher the quality, the more time it takes to be encoded. |
|
[Gop Type] |
Only displayed when the export format frame rate is 23.98p. Select the format from [HDV24p Record (Canon XL-H1, Sony HVR-Z7 etc.)] or [HDV24p Scan (Sony HVR-V1, HDV1080i devices)]. |
|
[Launch MPEG TS Writer after export] |
Check this item to start up MPEG TS Writer automatically after export to file. |
|
[Tape out after export] |
Becomes enabled when [Launch MPEG TS Writer after export] is checked. If checked, the data in the generated file is printed to tape with MPEG TS Writer. |
3) Enter a file name, select the save destination and click [Save].
A file is produced and registered in the bin.
1) Connect the PC IEEE1394 terminal to the HDV device with a DV cable.
Set the HDV device to video mode (PLAY/EDIT, etc.).

If your HDV device supports the HDV mode, set the device to the HDV mode. For more information on settings, see the instruction manual for your HDV device.
2) Click [Tools] on the menu bar, and click [MPEG TS Writer].
 Alternative
Click [Tools] in the bin, and click [MPEG TS Writer].
3) Select [Microsoft AV/C Tape Subunit Device] from the [Device] list.
|
|
|---|
|
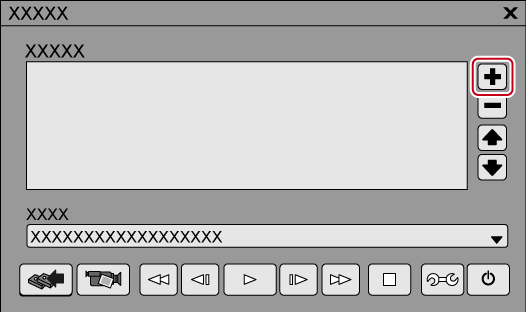
4) Click [Add File to List].

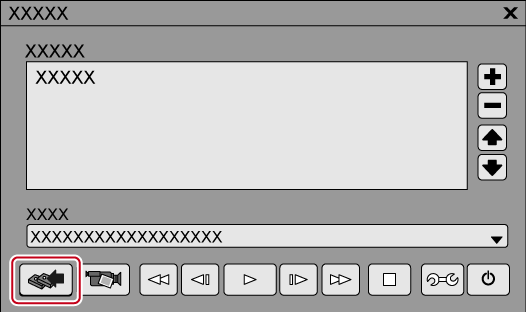
5) Select the exported file, and click [Open].
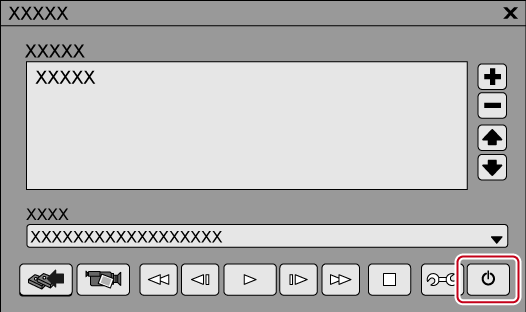
6) Click [Write].

Printing starts.
7) Click [OK].
8) Click [Exit].


If you click [Preview], the video will be output from the component output of the HDV camera. (not recorded to tape.)
