Modifying Physical Router Configurations
NOTE: Although it is possible to perform the following procedure as a stand-alone task (assuming all stated requirements are met), Grass Valley recommends you familiarize yourself with the sample workflow on page 58 in which this procedure is only one step within a sequence. |
REQUIREMENT: |
Before beginning this procedure, make sure you have opened Router Manager Configurator ( click HERE). |
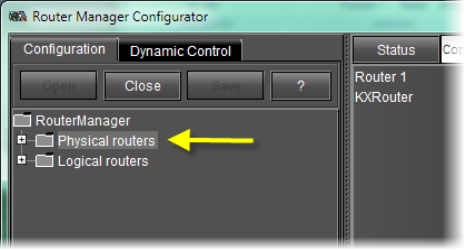
1. In Router Manager Configurator, in the router manager folder, double-click the Physical Routers sub-folder.
[ Graphic ]
Figure 4-8: Router Manager Configurator (Physical routers folder indicated)
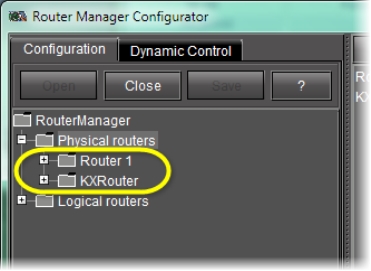
System Response: A series of folders appears, one for each physical router.
[ Graphic ]
Figure 4-9: Expanded Physical routers folder (physical routers circled)
2. If you would like to modify router settings (as opposed to router level settings), perform the following sub-steps:
a) Select the appropriate physical router in the left pane.
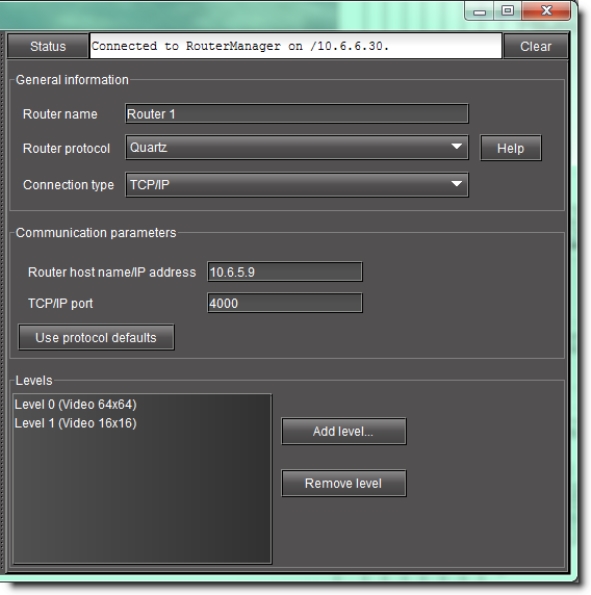
System Response: The right pane is populated with the current settings for the selected physical router.
[ Graphic ]
Figure 4-10: Right pane of Router Manager Configurator (physical router settings)
b) Modify the physical router settings as required.
3. If you would like to modify the settings of a particular level belonging to a physical router, perform the following sub-steps:
a) In the left pane, double-click the appropriate physical router.
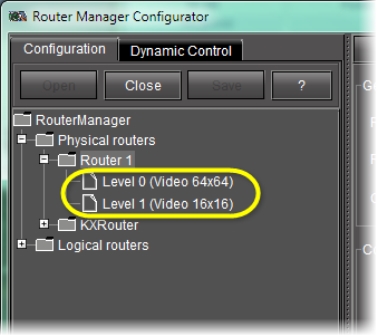
System Response: The levels within the router become visible.
[ Graphic ]
Figure 4-11: Expanded router folder (levels circled)
b) Select the level whose settings you would like to modify.
System Response: The right pane is populated with the current settings for the selected level.
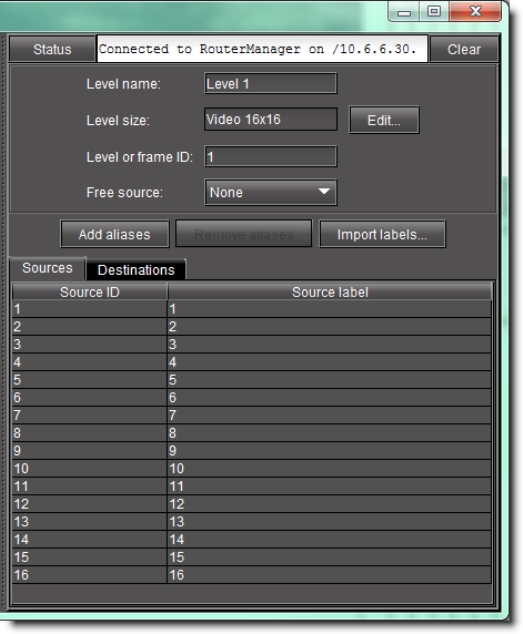
[ Graphic ]
Figure 4-12: Right pane of Router Manager Configurator (physical router level settings)
c) Modify the level settings as required.
4. Click Save.