To do this... | ...do this... |
Display all currently defined logical routers | Select the Logical routers folder in the left pane. 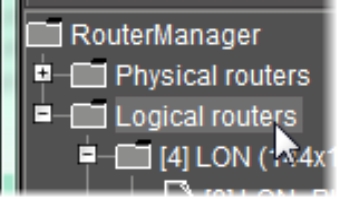 |
Display general information about a logical router | 1. Expand the Logical routers folder in the left pane. 2. Select the appropriate logical router.1 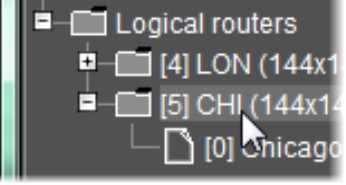 |
Define a new logical router | 1. Select the Logical routers folder in the left pane. 2. Click Add router in the right pane. 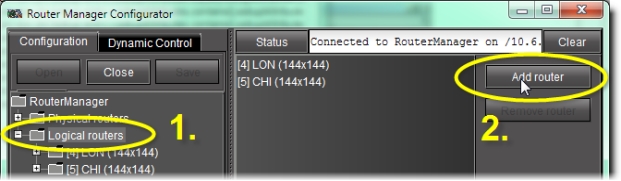 |
Delete a logical router | 1. Select the Logical routers folder in the left pane. 2. Select the logical router you wish to remove in the right pane. 3. Click Remove router in the right pane. 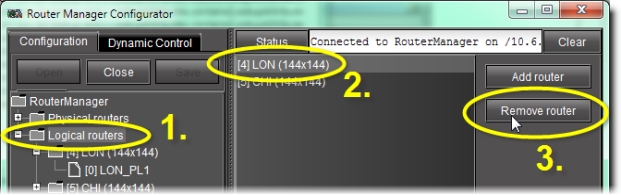 |
Modify the general settings of a logical router | 1. Select the appropriate logical router in the left pane. 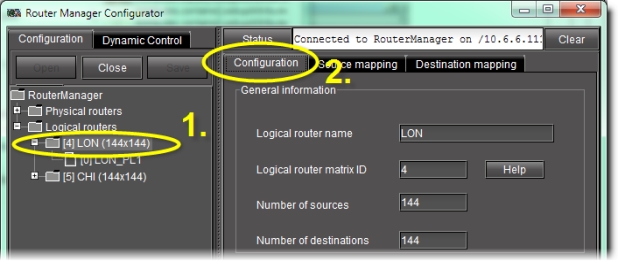 |
Modify the settings of one of a logical router’s levels | 1. Expand the appropriate logical router folder in the left pane. 2. Select the appropriate level, and then modify the settings in the right pane.3 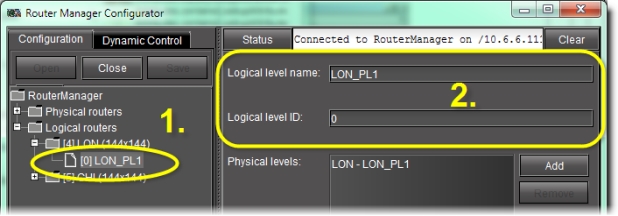 |
Map physical sources to logical levels | 1. Select the folder of the appropriate logical router in the left pane. 2. Click on the Sources mapping tab in the right pane. 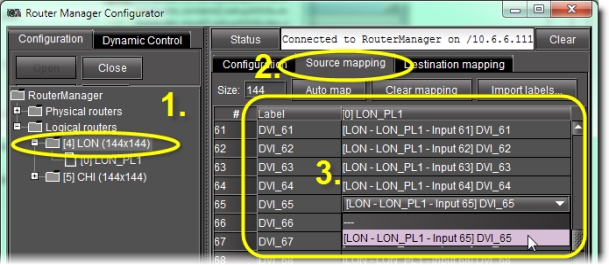 |
Map physical destinations to logical levels | 1. Select the folder of the appropriate logical router in the left pane. 2. Click on the Destination mapping tab. 3. Type the desired label. 4. Select the desired physical destinations. 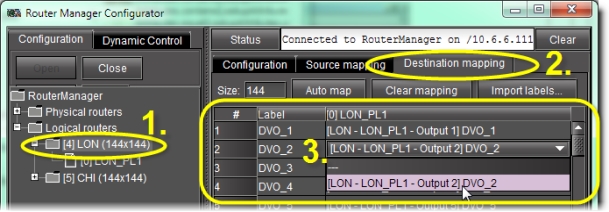 |
1 The list of levels is blank when a new router is selected.
2 The name of the logical router should be unique within the LAN.
3 The logical level ID is the internal identifier of the logical level and should be unique within a logical router. If it's not unique, then you will get an error message when you try to save changes.
4 You may alternately choose to import labels.
5 You may alternately choose to use the Auto Map feature to automatically generate mapping based on the information available. The results of automapping may be manually overridden, if necessary.