
Adding markers using logging buttons
If GV STRATUS security is enforced, your credentials must give you adequate permissions. If permission is restricted, buttons, list items, and other controls can be disabled or hidden. Bins, assets, markers, keywords, and metadata that do not have read permissions are not visible. All marker permissions must be set to Allow before you can add markers to assets in the Advanced Logging tool.
- Load the selected asset into the Source Viewer.
-
Click the
Play button
 or use other transport controls to preview the asset.
-
Do one of the following below:
- Click the appropriate logging button on the Button Panel.
- Press the keyboard shortcut keys that have been set for your logging buttons.
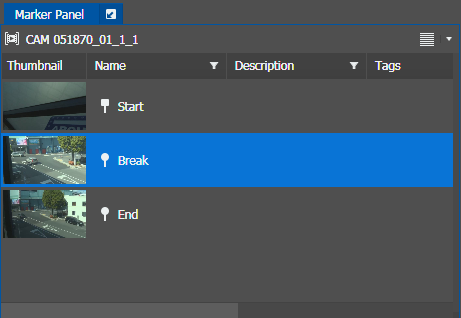
The marker and its metadata appear on the Marker Panel. The marker applies to a selected point in time of the asset.
-
Enter the description of the marker in the
Marker Panel.
This can be done easily if you already defined the Set auto-focus on marker creation to either Name, Description, or Tag in the user preferences setting for Advanced Logging.
- If you need to click multiple buttons for a marker, set the number of seconds needed for the Automatic Button Reset Duration setting in the User Preferences. For more details, refer to Changing Advanced Logging user preferences.
The marker is added and automatically saved to the asset. A symbol indicates its location in the Source Viewer. If you select a symbol, the thumbnail associated with that point is loaded into the Source Viewer and the slider is moved to that position.
If you need to add keywords to your assets, you can still do so in the Source Viewer.